
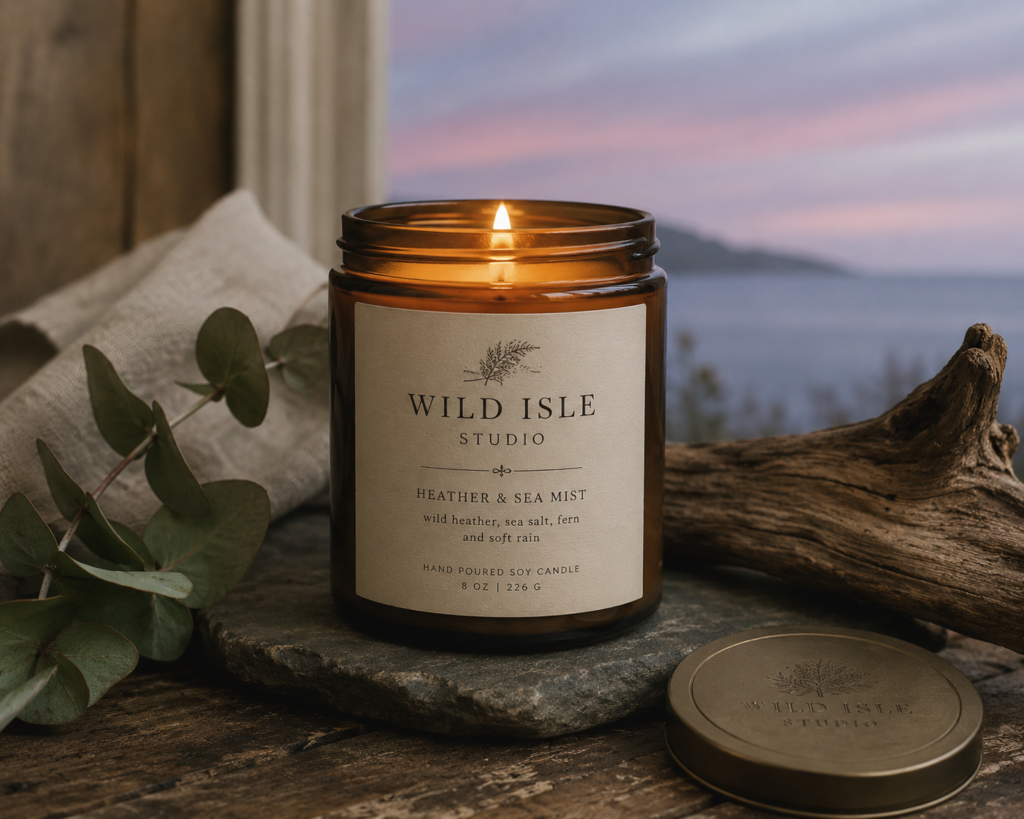
The first candle I made looked beautiful and smelled like nothing.
I’d followed what I thought were instructions, used what I thought were the right supplies, and poured what I thought was a reasonable amount of fragrance oil. The result was a perfectly formed, entirely scentless wax cylinder that my family politely pretended to admire.
What I didn’t know and what most beginner guides don’t tell you upfront is that candle making haws a handful of specific variables that determine whether you get a result worth burning, and most of them aren’t obvious until something goes wrong.
This guide cover what I wish I’d known before my first pour: the five most common beginner mistakes, what you actually need to start (and what you don’t), and how to choose a starter kit that gives you a real shot as a good first result.
The Five Things Beginners Get Wrong First
1. Too Much or Too Little Fragrance oil
Fragrance load, the percentage of fragrance oil relative to wax weight, is one of the most critical variables in candle maing and one of the least explained in beginner tutorials.
Too little fragrance and your candle smells like nothing when burning (called cold throw) or barely registers when lit (hot throw). Too much and the fragrance oil doesn’t bind properly to the wax, it pools on top, causes sweating, and can become a fire hazard.
Different waxes have different maximum fragrance loads. Soy wax typically holds 6 – 10%. Paraffin can dhandle up to 12%. Coconut wax sits around 10 – 12%. Always check the manufacturer’s recommendation for your specific wax, and start at the lower end until you’ve tested.
2. Wrong Wick Size
Wick sizing is the variable that trips up almost every beginner, and it’s the one that requires the most testing. A wick that’s too small creates tunnelling, a narrow melt pool that never reaches the edges of the jar, wasting most of the wax. A wick that’s too large mushrooms, produces soot, and burns too hot.
The correct wick depends on three things: wax type, jar diameter, and fragrance load. There is no universal chart that gets it exactly right. You test, observe, adjust, repeat. This is why buying a wick sampler pack (multiple sizes) is far more useful than buying one size in bulk.
3. Wrong Pouring Temperature
Every wax has an optimal pouring temperature range. Pour too hot and you get sinkholes as the wax cools and contracts. Pour too cold and you get a rough, uneven surface with air bubbles.
Soy wax is typically poured between 120 – 140°F. Paraffin 140 – 160°F. You need a thermometer, not a guess! A thermometer! This is the most inexpensive tool that makes the biggest difference.
4. Moving Candles Before They’re Fully Cured
This one is painful because it requires patience. Most beginners pour, wait for the wax to solidify (1 – 2 hours), and call it done. But the fragrance hasn’t fully bonded to the wax yet. Soy candles need 24 – 48 hours minimum before the fitst burn, and ideally 1 – 2 weeks of cure time for the best scent throw.
The candle that smelled like nothing? It probably needed another week!
5. Not Keeping Batch Notes
This is the mistake with the longest consequences. You make a candle that turns out perfectly, great scent throw, clean burn, beautiful surface and you have no record of what you did! The wax brand, the fragrance percentage, the pour temperature, the wick size, the cure time. Next time you pour from memory and the result is different.
Batch notes are the difference between repeatable results and perpetually starting over. Even a notebook works. A dedicated batch tracker works better!
What You Actually Need to Start
The good news! Candle making has a low barrier to entry. The bad news… most beginner guides either list too little (leaving you stuck halfway through your first pour) or too much (sending you to buy equipment you won’t need for months).
Here is the honest minimum:
Essential Equipment:
-
- a pouring pitcher (dedicated to candle making, not shared with food)
-
- a digital kitchen scale (measures wax and fragrance by weight, not volume)
-
- a candy or candle thermometer
-
- a double boiler or large pot for melting wax
-
- a heat gun or hair dryer (for fixing surface imperfections)
-
- wick centering tools or clothespins (to hold wicks in place while pouring)
Essential Supplies:
-
- wax (Choose one type to start. Soy is the most beginner forgiving)
-
- fragrance oil (not essential oils)
-
- wicks (by a sampler pack with multiple sizes
-
- jars or containers
-
- wick stickers or hot glue ( to secure wicks to the bottom of jars)
What You Don’t Need Yet…
-
- a wax melter (nice eventually, but not essential)
-
- dyes (adds a variable while you’re learning, start uncolored)
-
- multiple wax types (pick one, learn it well)
-
- a dedicated workspace (a kitchen works fine with a drop cloth)
Starter Kits, Are They Worth It?
For a first time candle maker, a starter kit is usually the right choice. Not because the individual components are hard to source, but because a good kit gives you matched components that are known to work together. Wick size, fragrance load, and wax are pre-tested in combination, which removes one layer of variable for your first pours.
The kits worth buying have a few things in common. They include a thermometer (not all do), they specify fragrance load percentages for the included was, and they include multiple wick sizes rather than one.
What To Look For in a Beginner Candle Making Kit:
-
- Soy wax (most forgiving for beginners)
-
- fragrance oils
-
- multiple wick sizes in a sampler format
-
- a thermometer included or clearly recommended
-
- enough wax for at least 4 – 6 test candles
-
- instructions that mention fragrance load percentage
At the the $30 – $50 price point, Amazon has several solid options. Read the reviews specifically for mentions of scent throw. That’s the most honest siganl of whether a kit’s components actually work together.
Your First Pour, A Simple Process to Follow
Once you have your supplies, here’s a stripped down first pour process that covers the critical variables.
Step 1: Weigh your wax. For a standard 8 oz jar start with 6 oz of wax by weight.
Step 2: Melt wax in your double boiler over medium heat. Stir occasionally. Do not rush it.
Step 3: While wax melts, secure your wick to the bottom of the jar with a wick sticker. Center it with a clothespin or wick bar resting across the top of the jar.
Step 4: When wax reaches your target temperature (120 – 140°F for soy), remove from heat.
Step 5: Calculate fragrance amount. Start at 6& for 6 oz of wax, that is 0.36 oz of fragrance oil. Weight it separately.
Step 6: Add fragrance to wax at 120 – 140°F. Stir slowly and thoroughly for 2 minutes. Do not whip air into it.
Step 7: Allow wax to cool to 115 – 125°F (soy). Pour slowly and steadily into your jar. Leave 1/2 inch at the top.
Step 8: Do not touch it for 24 hours minimum. Do not move it, Do not test it, Do not burn it.
Step 9: Write everything down! Wax brand and weight, fragrance name and percentage, pour temperature, wick size, date poured.
Step 10: After 24 hours, trim the wick to 1/4 inch and do a test burn. Note how the melt pool looks after 1 hour. Does it reach the edges? Is there mushrooming? Adjust your wick size on the next pour accordingly.
The Honest Expectation
Your first candle probably won’t be perfect. Most aren’t. The surface might be rough. The scent throw might be weaker than you hoped. The wick might be slightly off.
None of that means you’ve failed. It means you have data for your second pour, which will be better! And your fifth pour will be better still!
Candle making rewards the person who keeps notes and keeps going. The batch tracker isn’t a nice extra, it’s the whole system!
Wild Isle Studio publishes honest research and practical guides for candle makers, soap makers and crafters who like knowing why things work, not just that they do. Affiliate links are always disclosed.